Replacing your John Deere lawn tractor's drive belt is a straightforward DIY project that can save you money and time. This guide provides clear, step-by-step instructions to help you confidently complete this essential maintenance task. Remember, safety is paramount; always prioritize your safety and consult your owner's manual for model-specific details. For longer life, learn about lawn tractor battery life.
Getting Started: Tools and Parts
Before you begin, gather the necessary tools and parts. Having everything ready will ensure a smooth and efficient repair process.
Genuine John Deere Replacement Belt: Using an OEM (Original Equipment Manufacturer) belt ensures proper fit, performance, and longevity. Find the correct part number for your model on the John Deere Website. Why is using a genuine John Deere part so important? It guarantees compatibility and optimal performance, preventing premature wear and potential damage to other components.
Wheel Chocks: Essential for safety, preventing accidental movement of the tractor.
Socket Wrench Set: A 13mm socket is typically needed, but check your owner's manual.
Screwdrivers: Phillips head and flathead screwdrivers.
Pliers: Needle-nose pliers are helpful for accessing tight areas.
Gloves and Safety Glasses: Protect your hands and eyes from potential hazards.
Owner's Manual: Your tractor's manual contains model-specific instructions and diagrams.
Step-by-Step Drive Belt Replacement
This section details the process of replacing your drive belt. Remember, always consult your owner's manual for model-specific instructions. Variations might exist between models.
Step 1: Secure the Tractor
Engage the parking brake firmly and securely place wheel chocks behind the rear wheels. This is crucial for preventing accidental movement and ensuring your safety. Have you ever heard of a DIY project going wrong due to a lack of safety precautions? It's a common mistake!
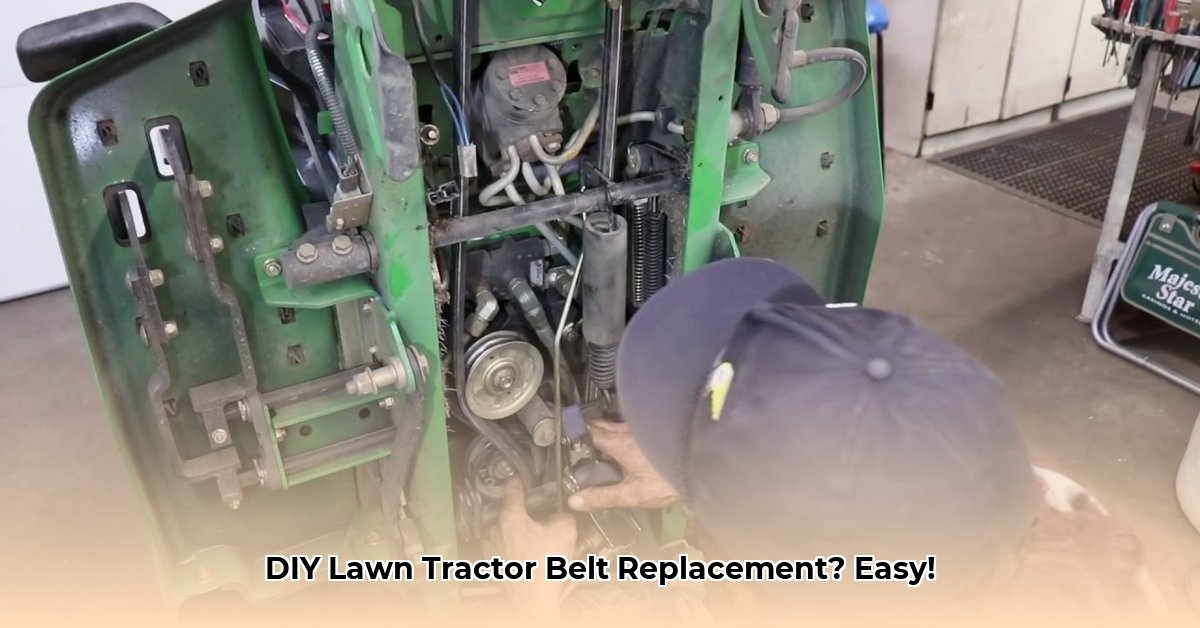
Step 2: Access the Belt
Locate the drive belt. This often involves removing the mower deck, which may require removing bolts or clips. Take photos as you disassemble any parts to aid in reassembly.
Step 3: Release Belt Tension
Locate the belt tensioning mechanism (often a spring-loaded lever or bolt) and carefully release the tension to loosen the belt. Your owner's manual will show you precisely where this mechanism is located on your specific model.
Step 4: Remove the Old Belt
Gently guide the old belt off the pulleys, paying attention to its routing. Take photos or diagrams! This step is critical for accurate reinstallation. Did you know that improper belt routing is a common cause of premature wear and tear?
Step 5: Install the New Belt
Carefully route the new belt, following the same path as the old belt (refer to your photos!). Ensure the belt sits correctly on all pulleys and idler pulleys.
Step 6: Apply Belt Tension
Re-engage the tensioning mechanism, ensuring the correct tension is applied. Refer to your owner's manual for specific tension guidelines. Improper tension leads to belt slippage or damage, affecting your lawn tractor's performance.
Step 7: Reassembly
Carefully reassemble all components you removed earlier, making sure everything is securely fastened.
Step 8: Test the New Belt
Start your tractor and let it run for a few minutes. Listen for any unusual noises or belt slippage. Check that the blades are spinning smoothly.
Troubleshooting Common Problems
Belt Slipping: Incorrect routing or insufficient tension are the usual culprits. Recheck your work, paying close attention to belt routing and tension.
Belt Breaking: This usually points to a faulty belt or excessive tension. Use a genuine John Deere belt and ensure proper tension.
Tips for Success
Consult Your Owner's Manual: It's the ultimate guide for your specific model.
Prioritize Safety: Always use caution when working with machinery.
Preventative Maintenance: Regularly inspect your belt for wear and tear to avoid unexpected breakdowns.
Replacing your John Deere lawn tractor's drive belt is a rewarding DIY project. By following these steps, you can quickly and confidently restore your tractor's mowing capabilities. Remember, safety and attention to detail are key to a successful repair.